Pedestal Retrofit

When to use a Retrofit Kit
Retrofit kits make it possible to upgrade your existing pedestals into smart-metered pedestals without tearing them out or buying new ones.
This saves thousands of dollars in infrastructure costs and avoids the downtime of a full pedestal replacement.
It’s the fastest way to introduce revenue-grade smart metering across your park while extending the life of your current electrical infrastructure.

Installation Considerations
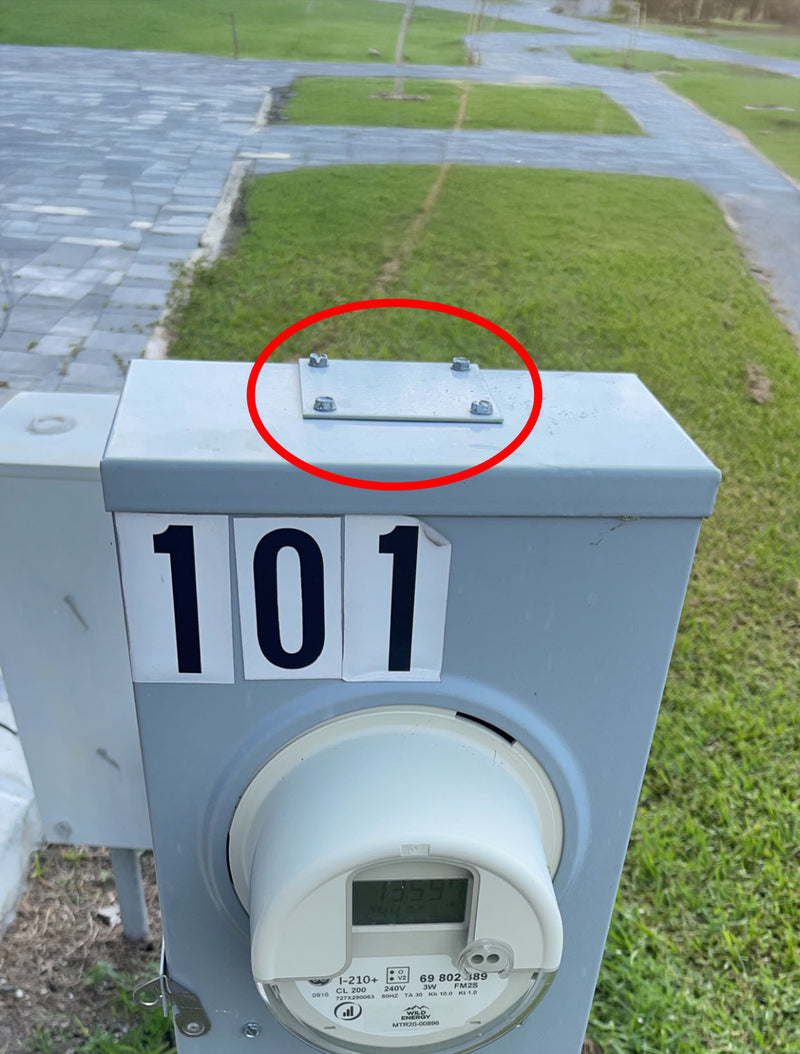
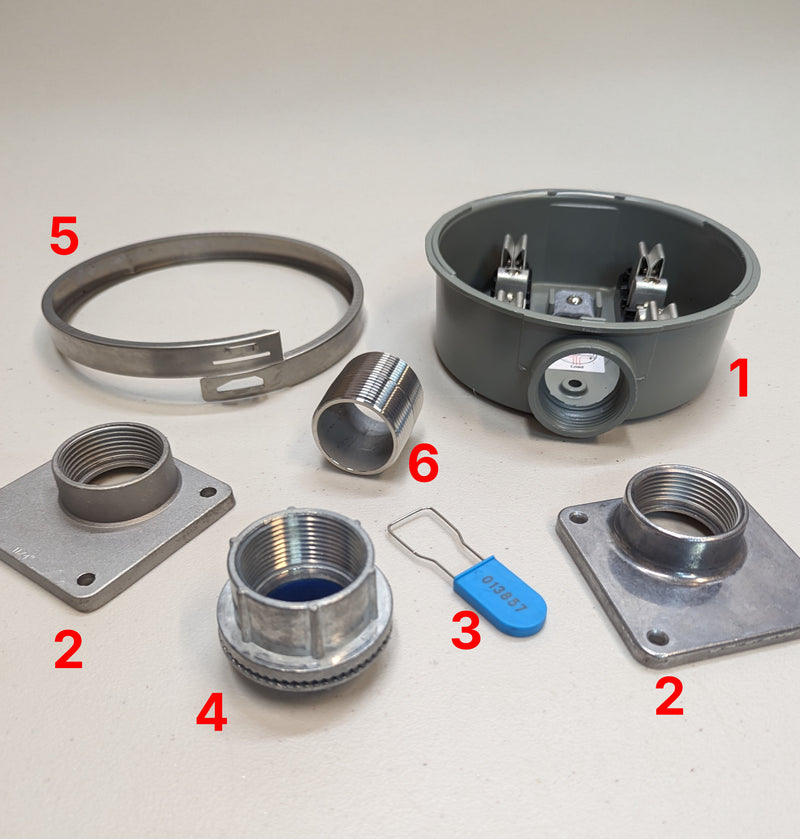
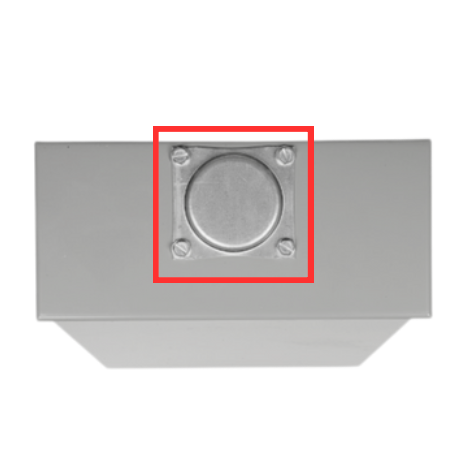
Mounting Options: Some pedestals have a removable plate designed for mounting a meter socket hub. Others may require a drilled hole and the use of a Myers hub or similar adapter to run wiring and secure the socket kit.
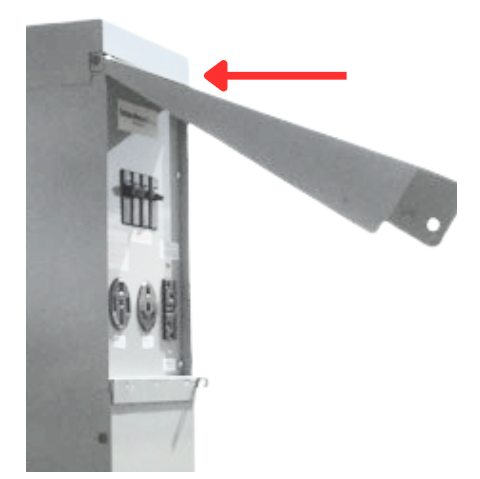
Surface-Mount Pedestals: These are more challenging to wire because they usually lack a LINE-side bus bar. In these cases, the wiring from the utility or main panel may need to be extended directly to the meter socket.
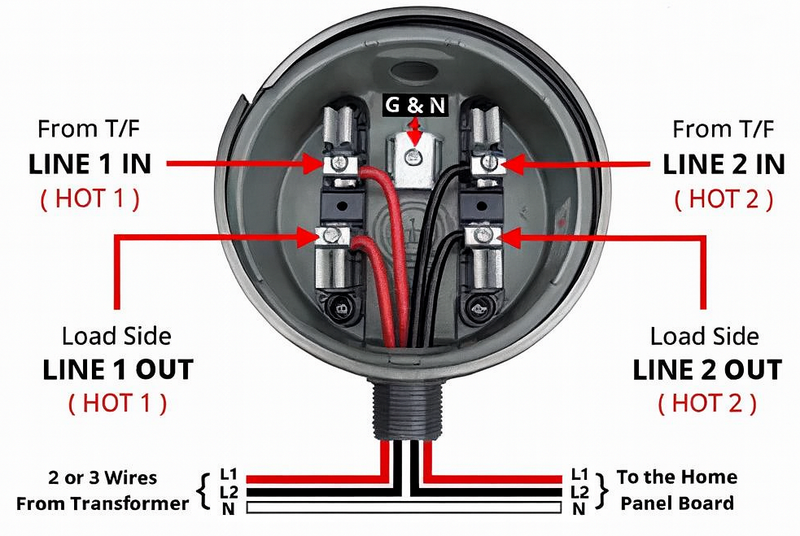
Wiring: Wire gauge typically ranges from #2 to #6 depending on the pedestal’s load rating.

Wild Energy for every pedestal
Our solutions are designed to work seamlessly with virtually all major pedestal brands. Whether your park uses Midwest, Jamestown, Eaton, Motion Power, Milbank, USG Heritage, Talon, or many others, our equipment integrates smoothly to simplify installation and ensure reliable performance.

Retrofit Kit Components
Understanding the basic components of a socket kit helps you communicate with Wild Energy or your electrician, order the right parts, and ensure everything is installed correctly.
1. Socket
2. Meter Hub
3. Meter Seal
4. Myers Hub
5. Lockring
6. Threaded Nipple

240V Meter Wiring Diagram
Use No. 2 to No. 6 gauge wire, depending on your pedestal’s load rating. Because each installation can vary, always consult a licensed electrician to confirm the correct wire size and ensure compliance with local codes.

Pedestal Photo Guide for Retrofit Kits

Photo 1 - Front View
Closed panel with band visible (if possible).

Photo 2 - Top View
Mounting plate on top. (Some pedestals may not have a plate.)

Photo 3 - Side View
Open panel to view hinge opening between panel cover and top of pedestal.

Photo 4 - Inside Panel View
With view of MFR and serial number if available.
Ready to harness your utility use?
